Accreditations tell travellers who has approved, trained or welcomed you: a tourism body’s approval, a guiding qualification, a membership. Each one can have a logo and a link. Only add ones you hold.
Where they show
- On your About page.
- In the Atlas theme, in a dark strip under the big photo at the top of your home page.
On Pro and Custom you can add that strip to any theme’s home page: tick Show accreditations in Home page sections. See Home page sections.
Until you add one, nothing shows.
Add an accreditation
- In your dashboard, click Site content.
- Click Accreditations.
- Click Add an accreditation.
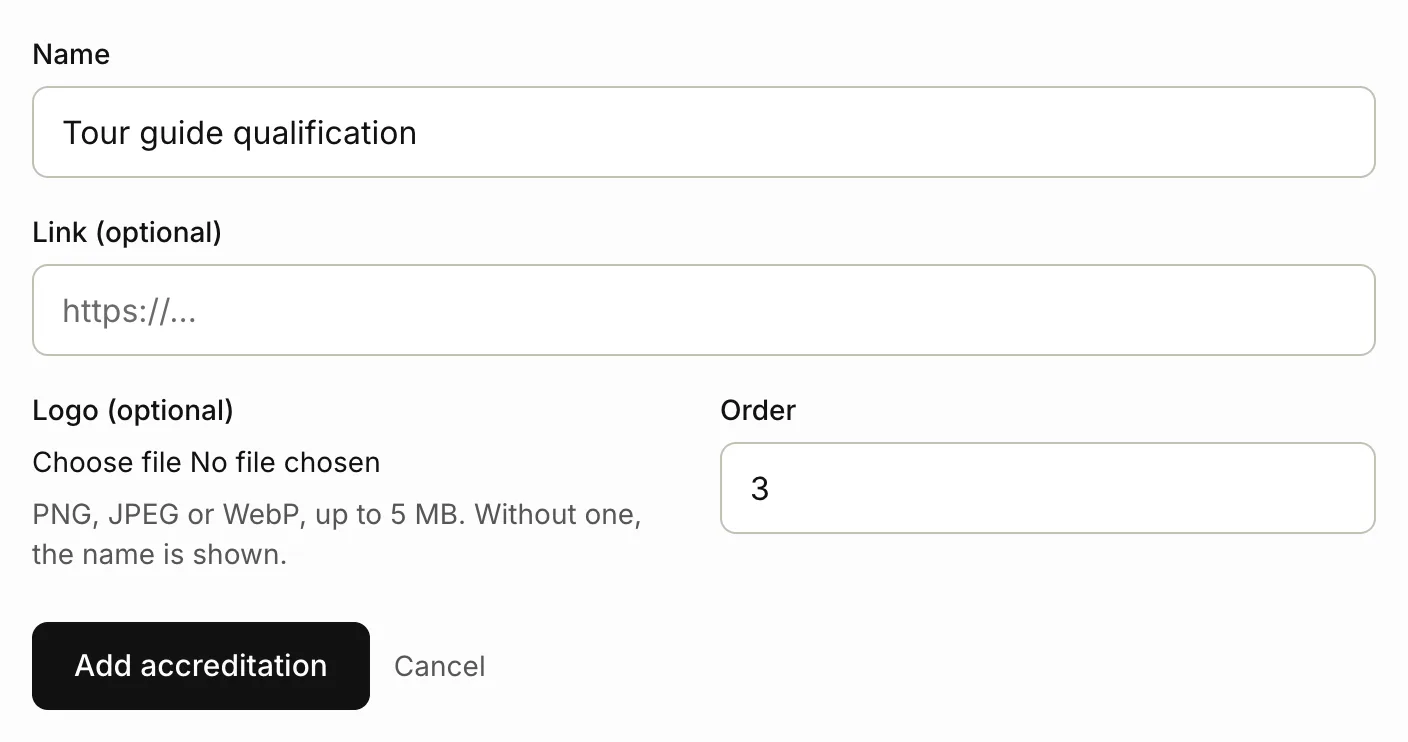
- Type its Name, for example “Fáilte Ireland approved”.
- Optional: in Link (optional), paste the address of a page that shows it, like the page listing you on the body’s website. It must start with http:// or https://.
- Optional: in Logo (optional), choose the logo as a PNG, JPEG or WebP file. Without one, the name shows with a small shield.
- Order sets its place in the list. Lower numbers come first.
- Click Add accreditation.
With a link, the name and logo on your site open that page in a new tab.
Change or remove one
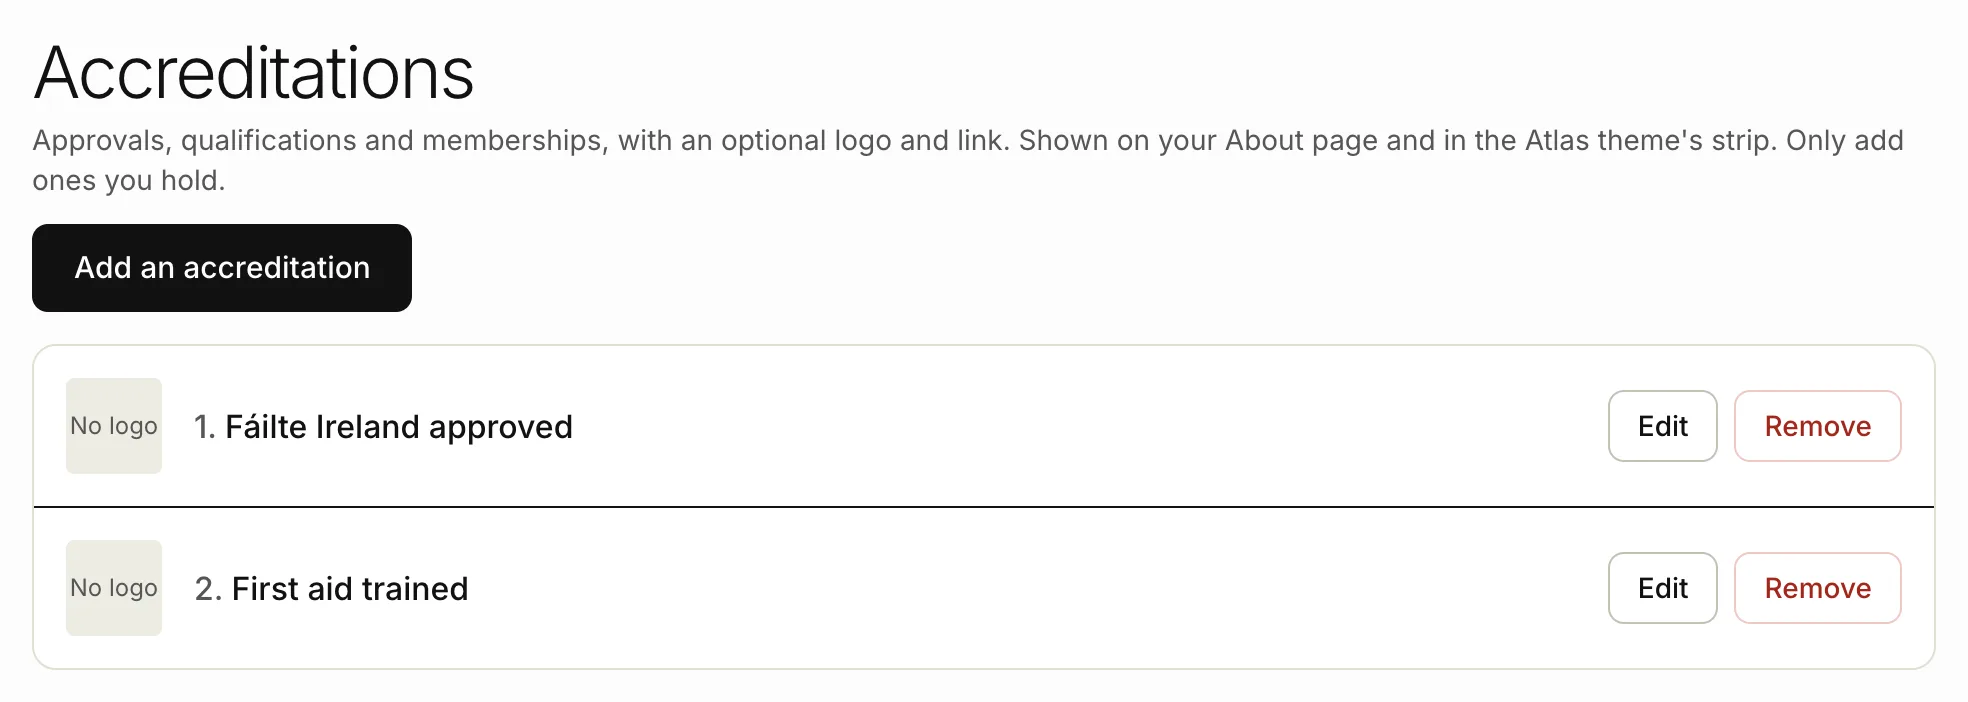
- To change one, click Edit next to it, make your changes and click Save accreditation. To take its logo off, tick Remove current logo.
- To take one off your site, click Remove, then confirm.
Accreditations you listed as text
If you typed your accreditations as text before logos were possible, Accreditations shows them with a button, Import them so you can add logos. Click it to turn each line into an accreditation, then click Edit on each one to add its logo and link.
Related articles
- About and contact Your story for the About page, your contact details, WhatsApp and call buttons, social links, and how your pages show in Google.
- Home page sections Pro Show, hide, order and rename the sections of your home page.
- Send your site for review Before your site is public, the Tourfect team checks it. Here's how to send it, and what we look at.
Still stuck? Contact us
Tell us what you're trying to do and where it went wrong. We reply by email within a working day.
Contact us