This walk-through follows Tourfection Tours, a demo business, from signup to its first booking. Every screenshot is from the real site. Each step links to its own article if you want more detail.
Create your site
- Go to tourfect.ie and click List your tours.
- Type your business name. Your site address fills in by itself; change it if you like.
- Type your name, your email and a password of at least 12 characters.
- Click Create my site.
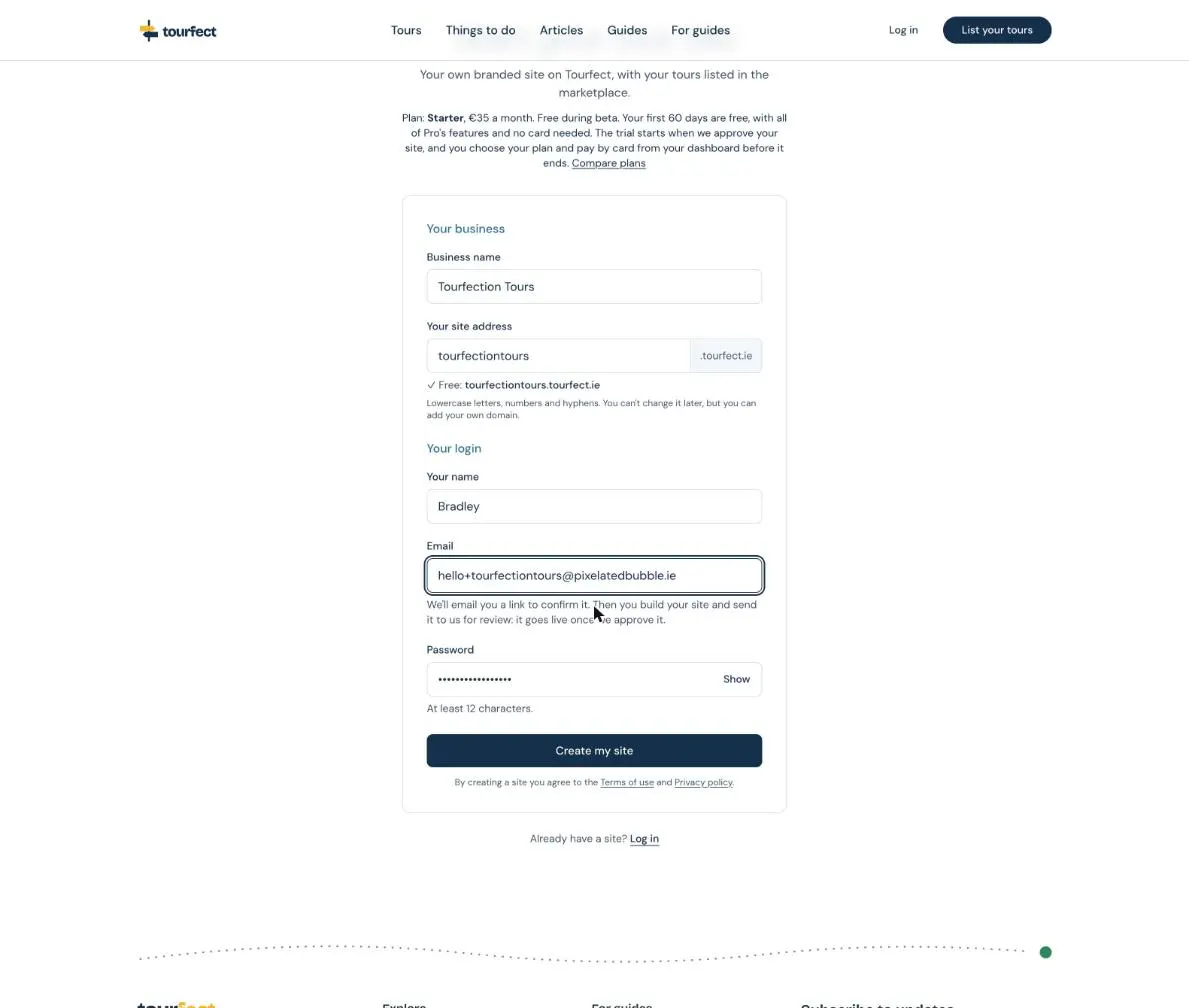
We email you a link to confirm your address. Click it when it arrives: you need it before you send your site for review.
Tell us about your business
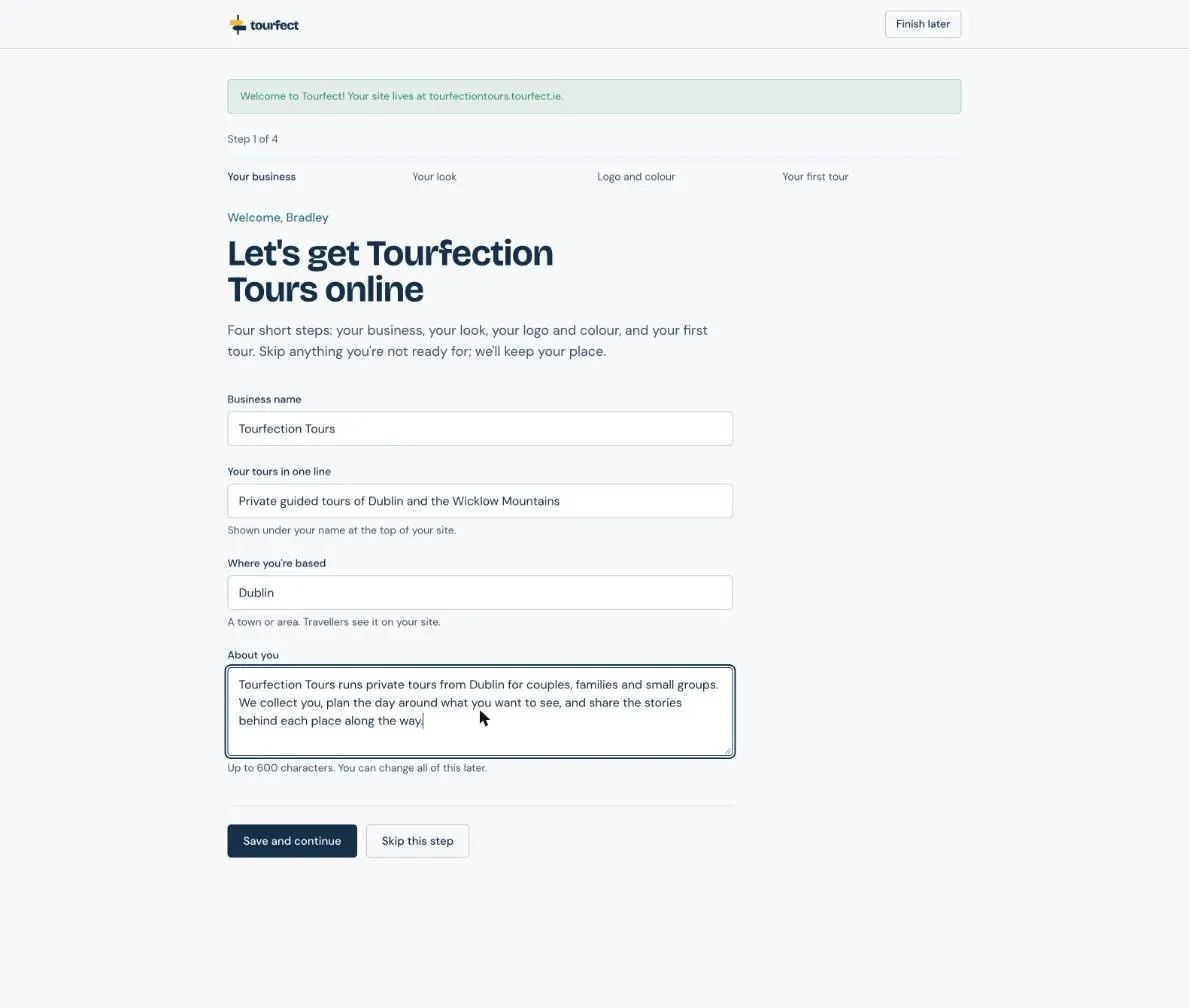
The guided setup opens straight away. It has 4 short steps, and you can skip any of them.
Add a line about your tours, where you’re based and 2 or 3 sentences about you. Click Save and continue.
Pick a look
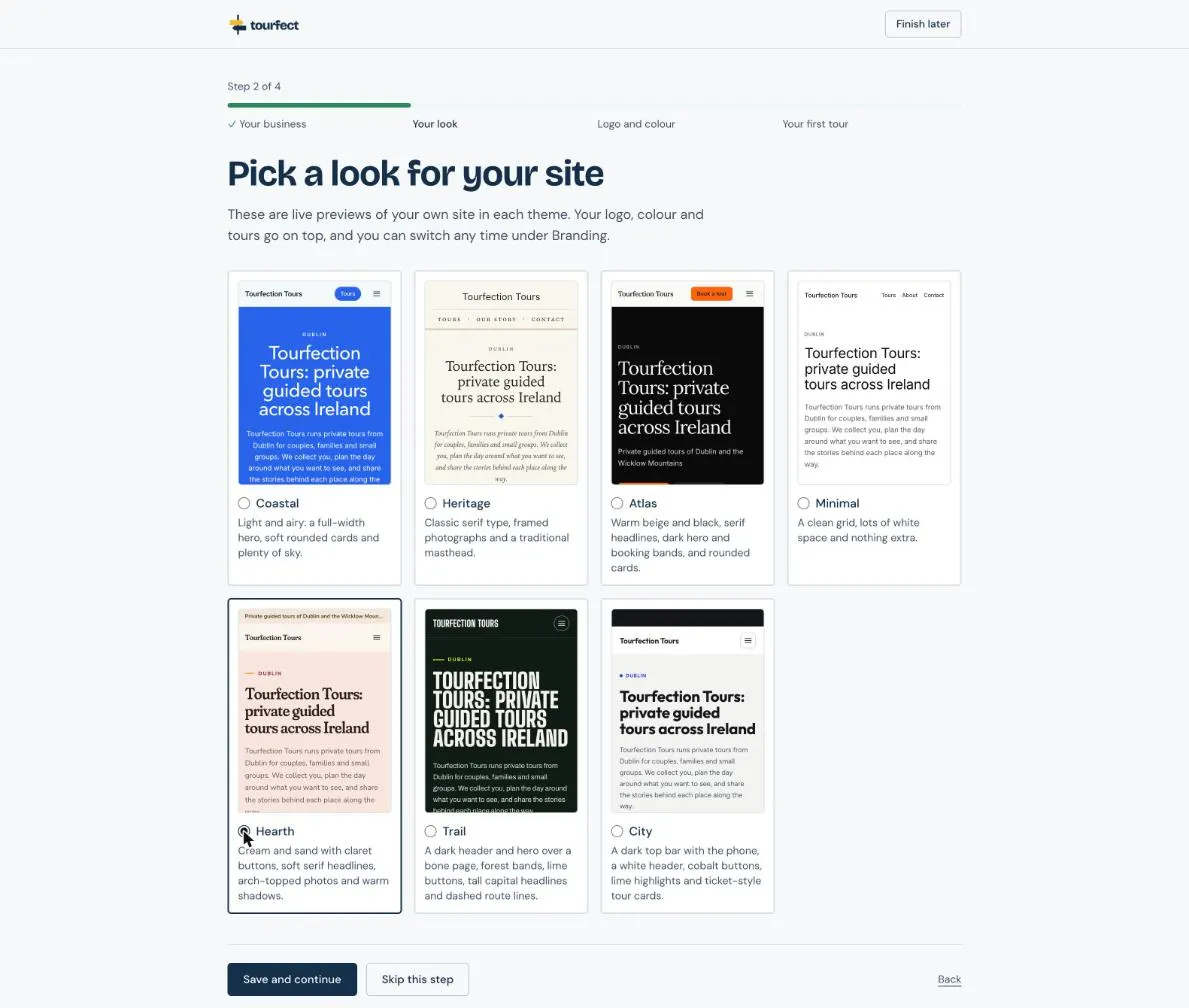
Each card is a live preview of your own site in that theme. Pick one and click Save and continue. You can switch theme any time under Branding.
Add your logo and colour
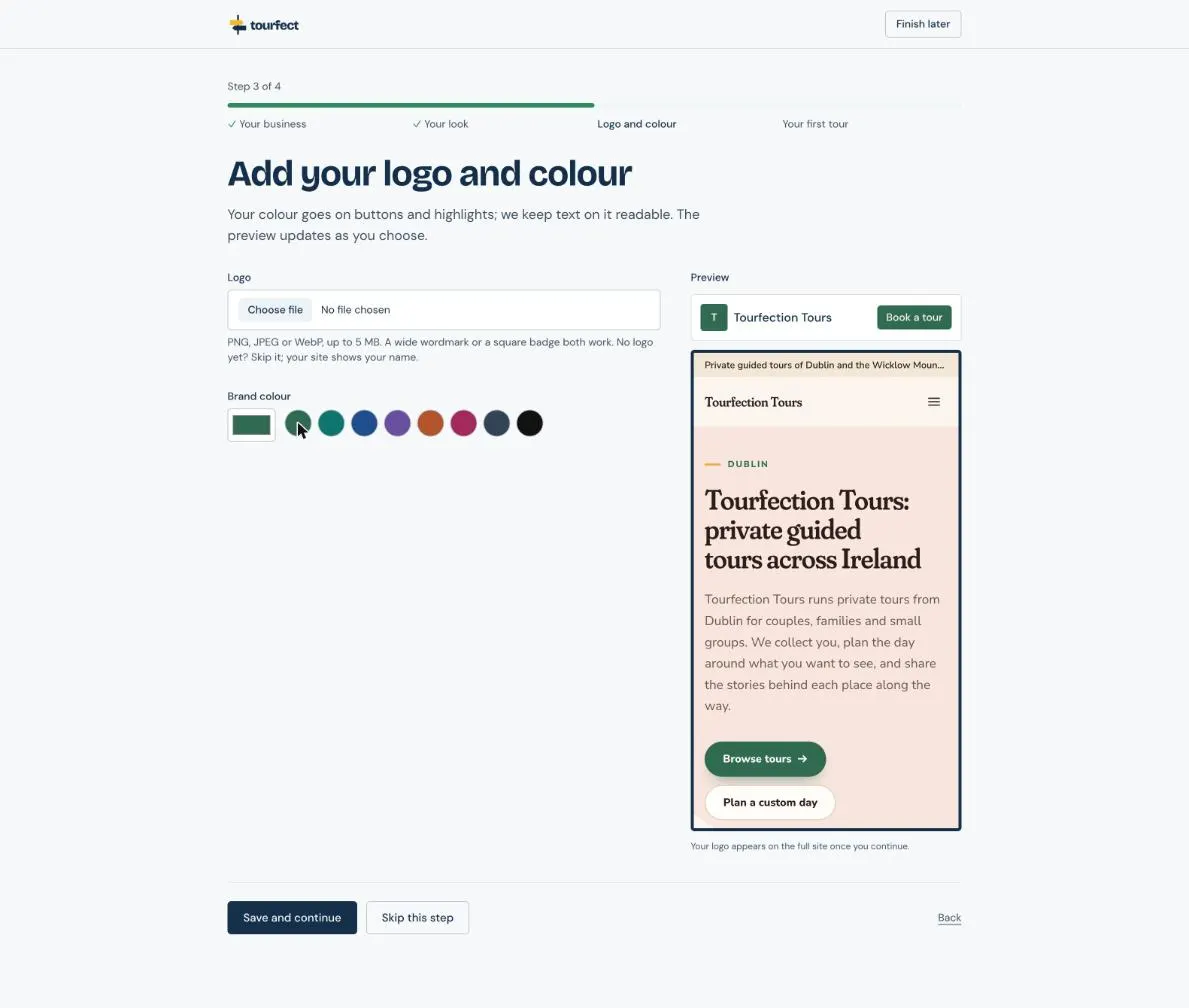
Upload your logo if you have one, then pick your brand colour. The preview on the right updates as you choose.
Add your first tour with AI
- In Write with AI, jot down rough notes: where the tour goes, what you do, how long it takes and who it suits.
- Click Write with AI.
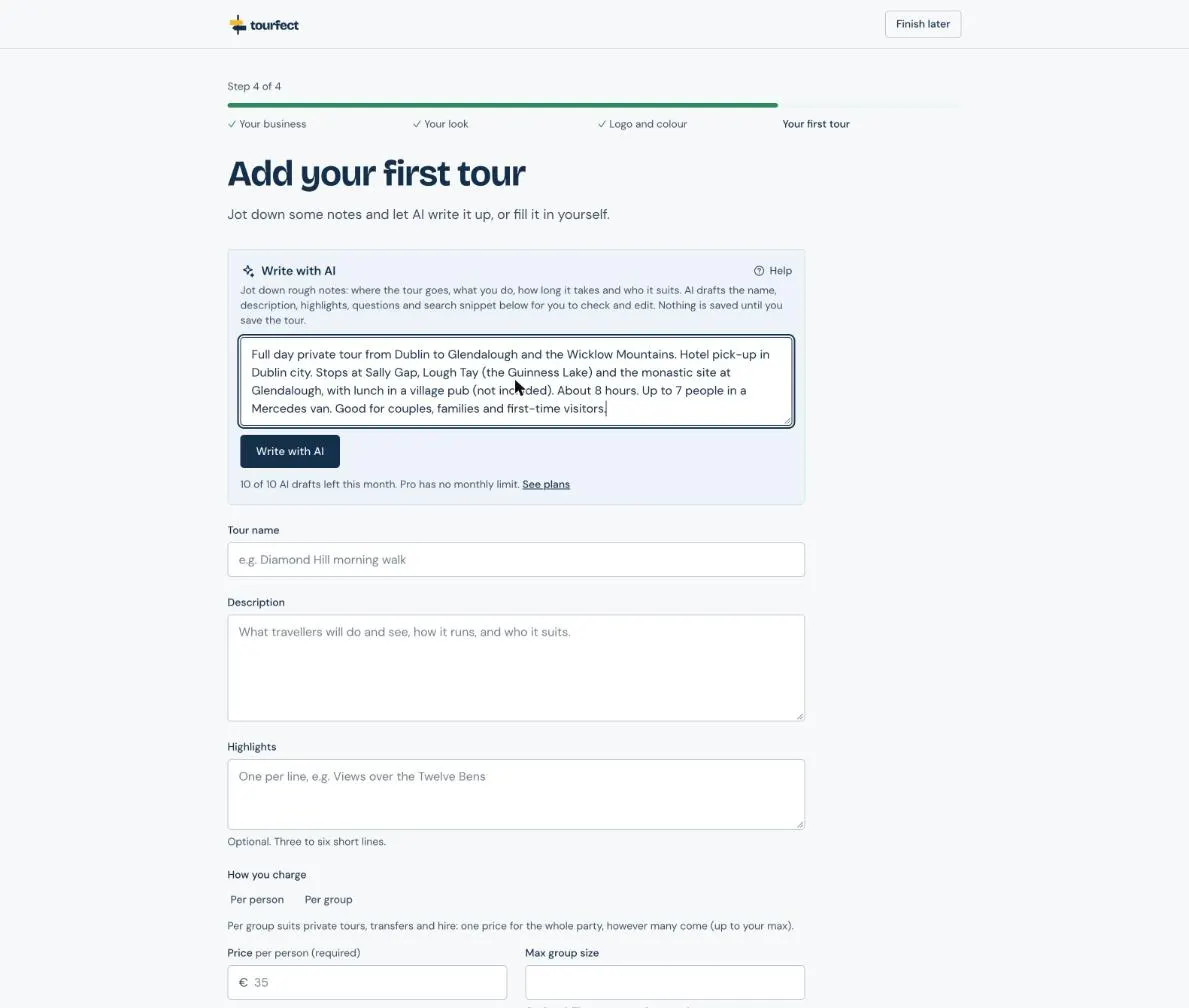
The AI drafts the name, description, highlights and common questions from your notes. Nothing is saved yet.
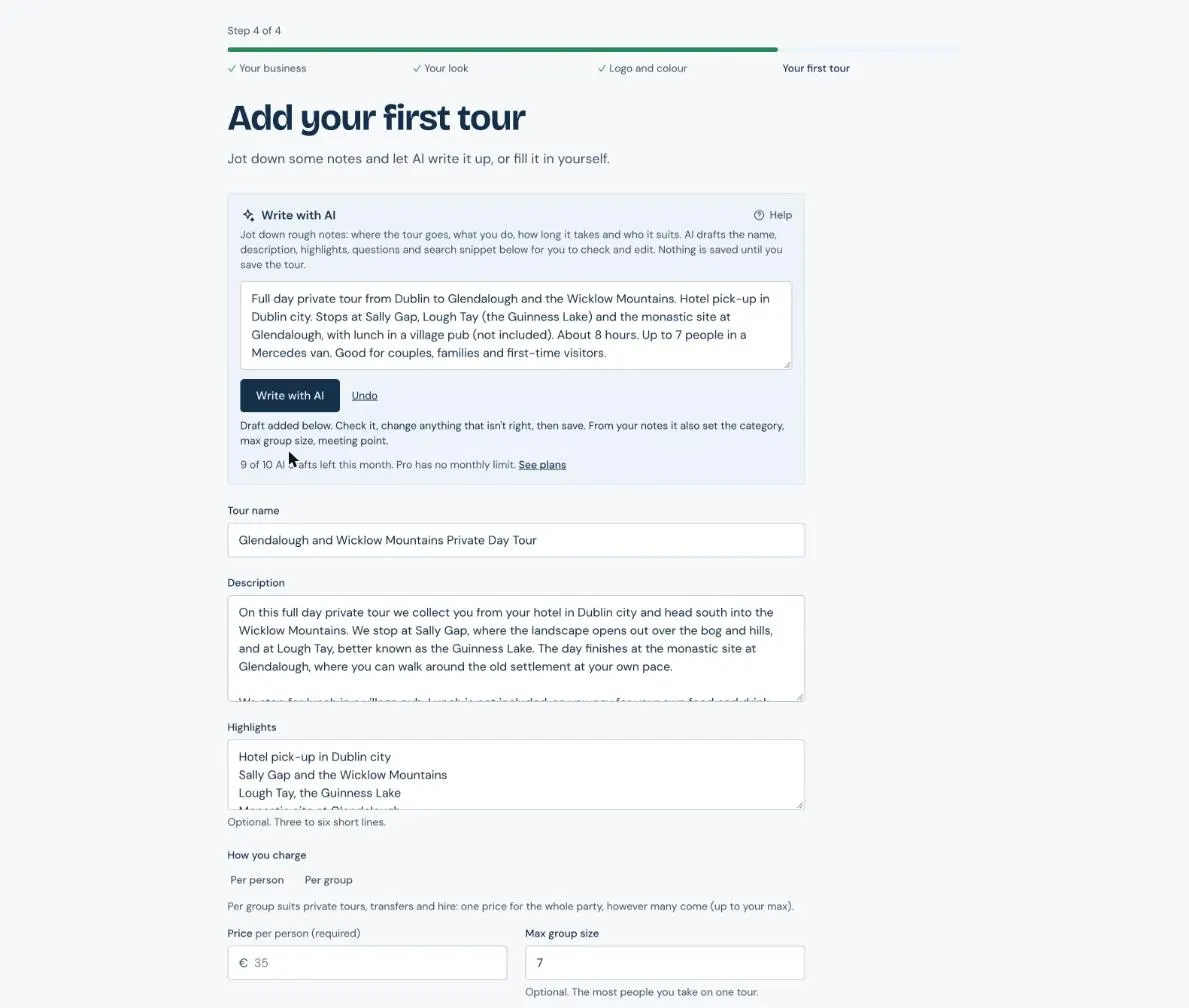
- Check every line and change anything that isn’t right.
- Choose Per person or Per group, then type your price.
- Pick how long the tour takes.
- Add photos if you have them. The first one is the cover.
- Click Save and finish.
Send your site for review
Your site is ready, but only you can see it until the Tourfect team approves it.
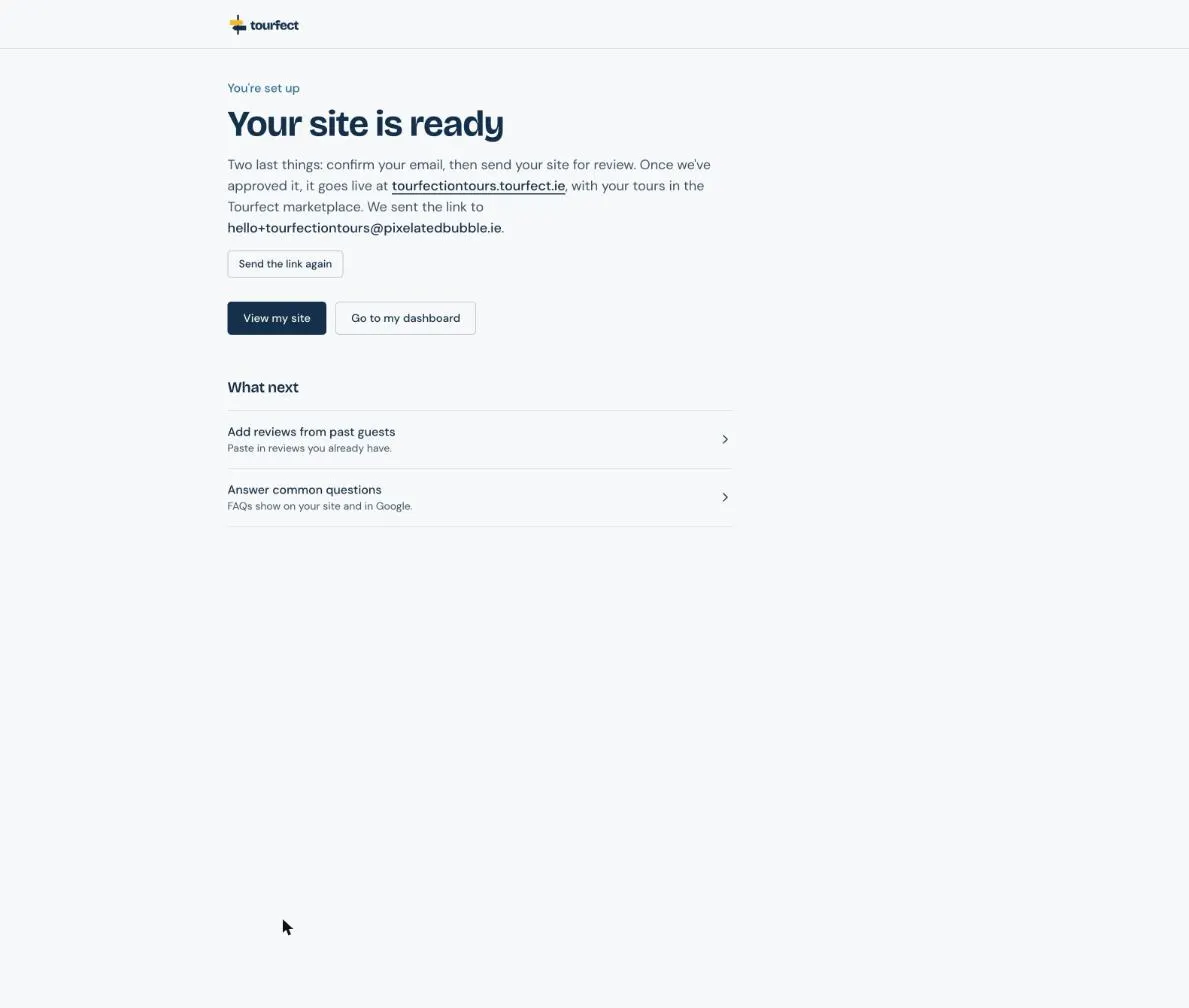
- Confirm your email if you haven’t yet.
- On your dashboard, type the best number to reach you. Only the Tourfect team sees it.
- Click Send for review, then confirm.
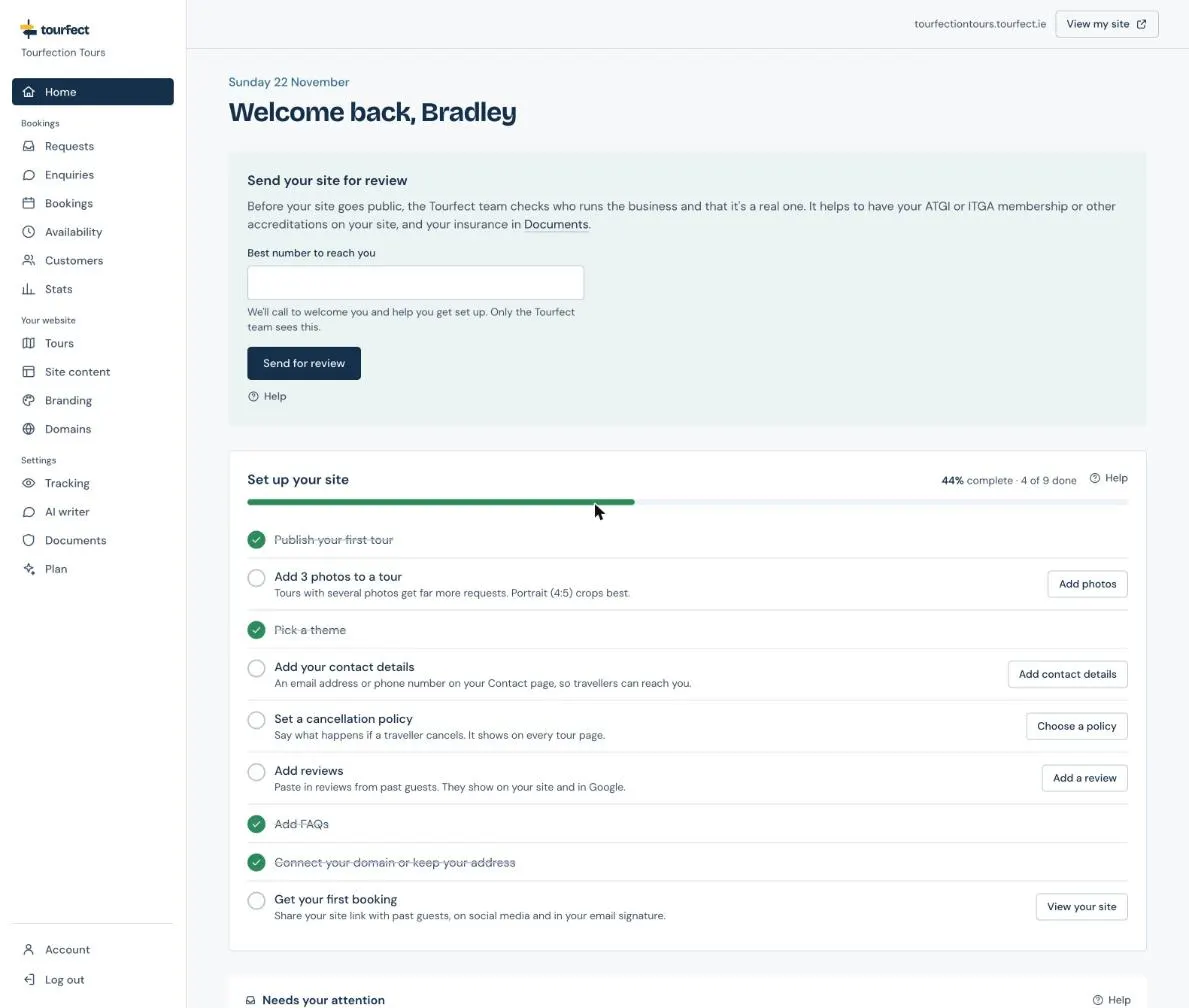
We check who runs the business and that it’s a real one, and email you when it’s done. You can keep working on your site meanwhile.
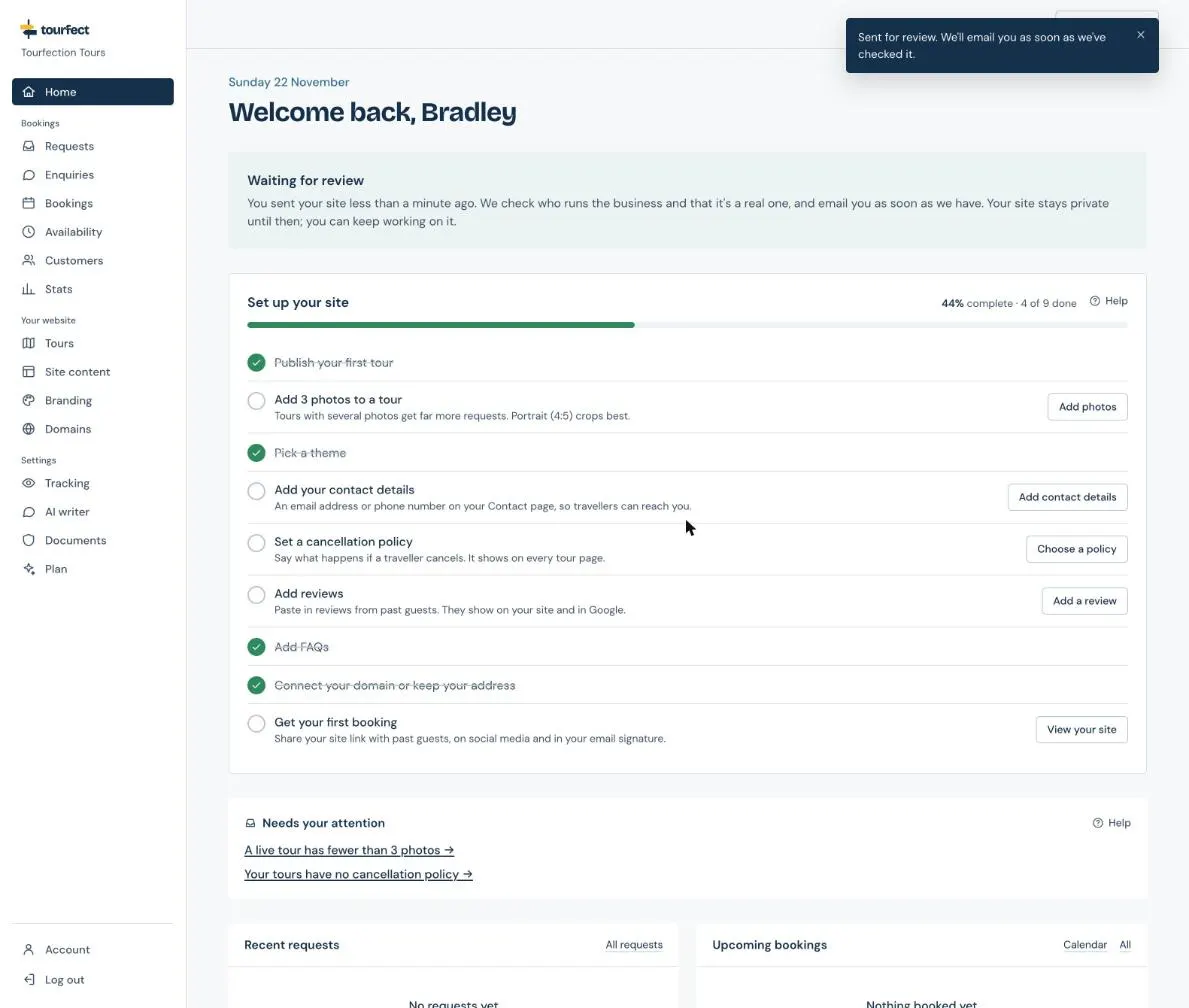
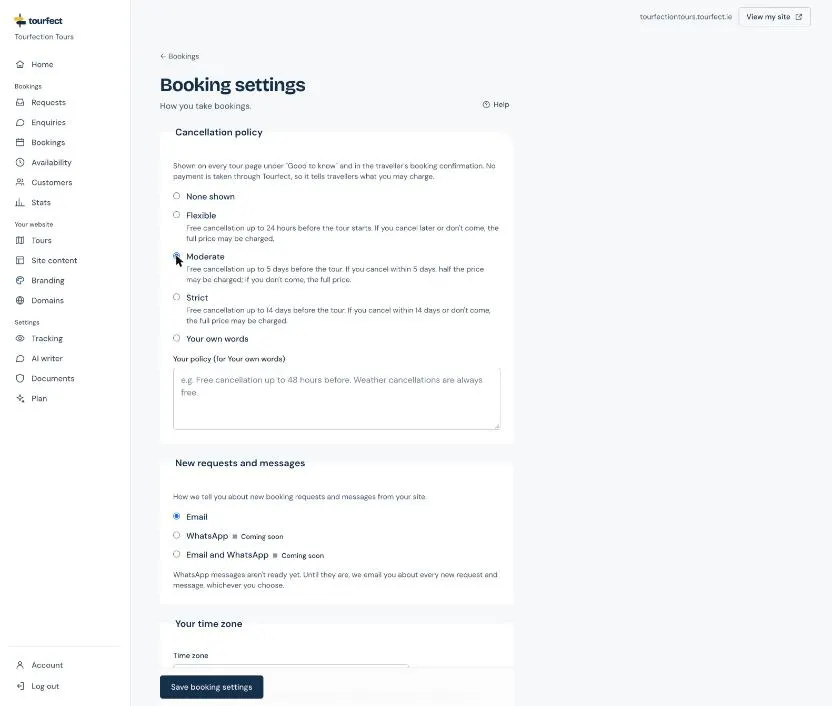
Set a cancellation policy
Travellers look for it before they book. Click Choose a policy in your checklist, pick one and click Save booking settings.
Connect your own domain (Pro)
- Click Domains, type your domain without “www” and click Add domain.
- Your domain’s page lists 3 records, each with a Copy button.
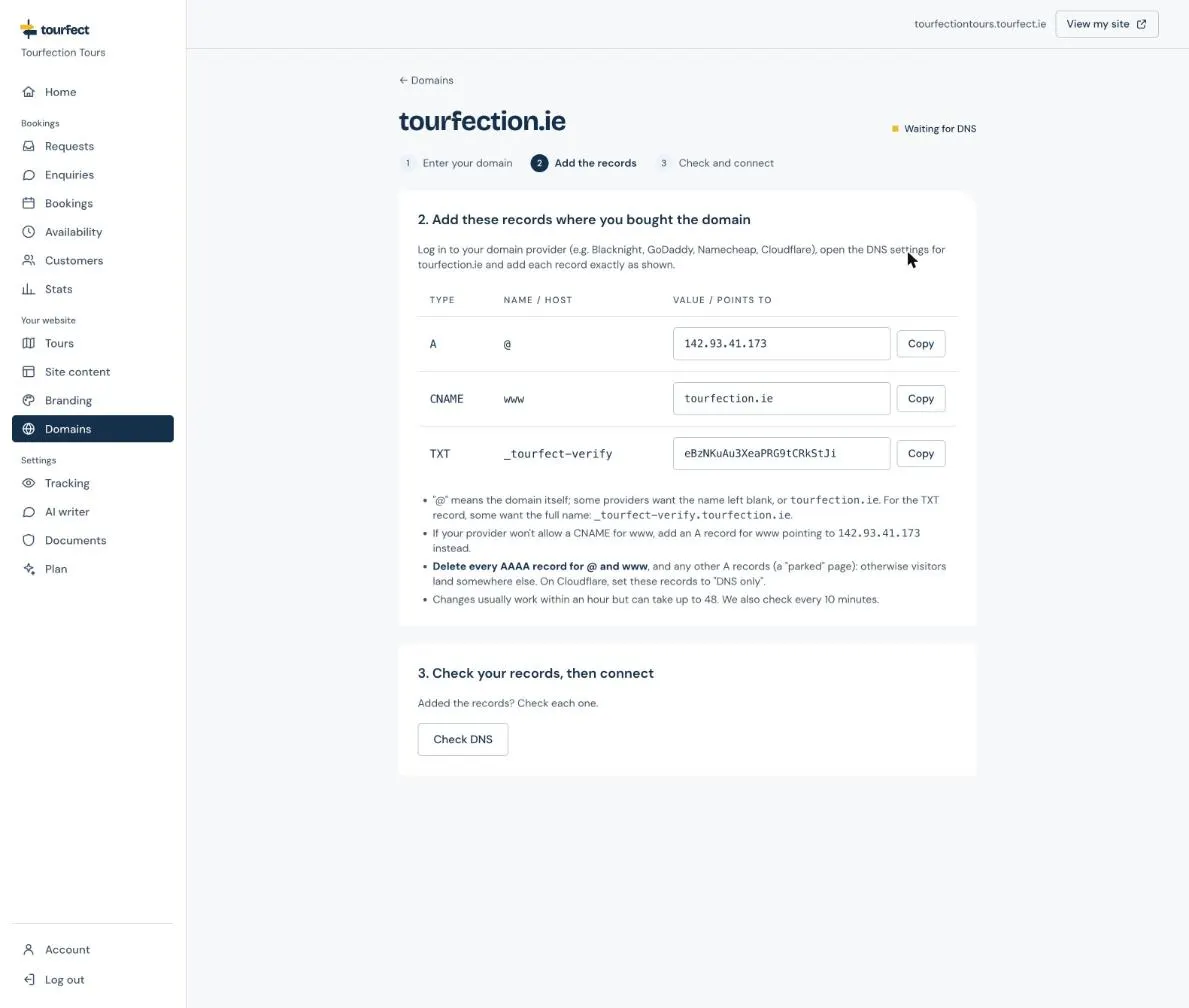
- Add them where you manage your domain’s DNS. Connect your own domain shows how, with screenshots from cPanel.
- Click Check DNS, then Verify and connect. We also check every 10 minutes, so it can connect by itself.
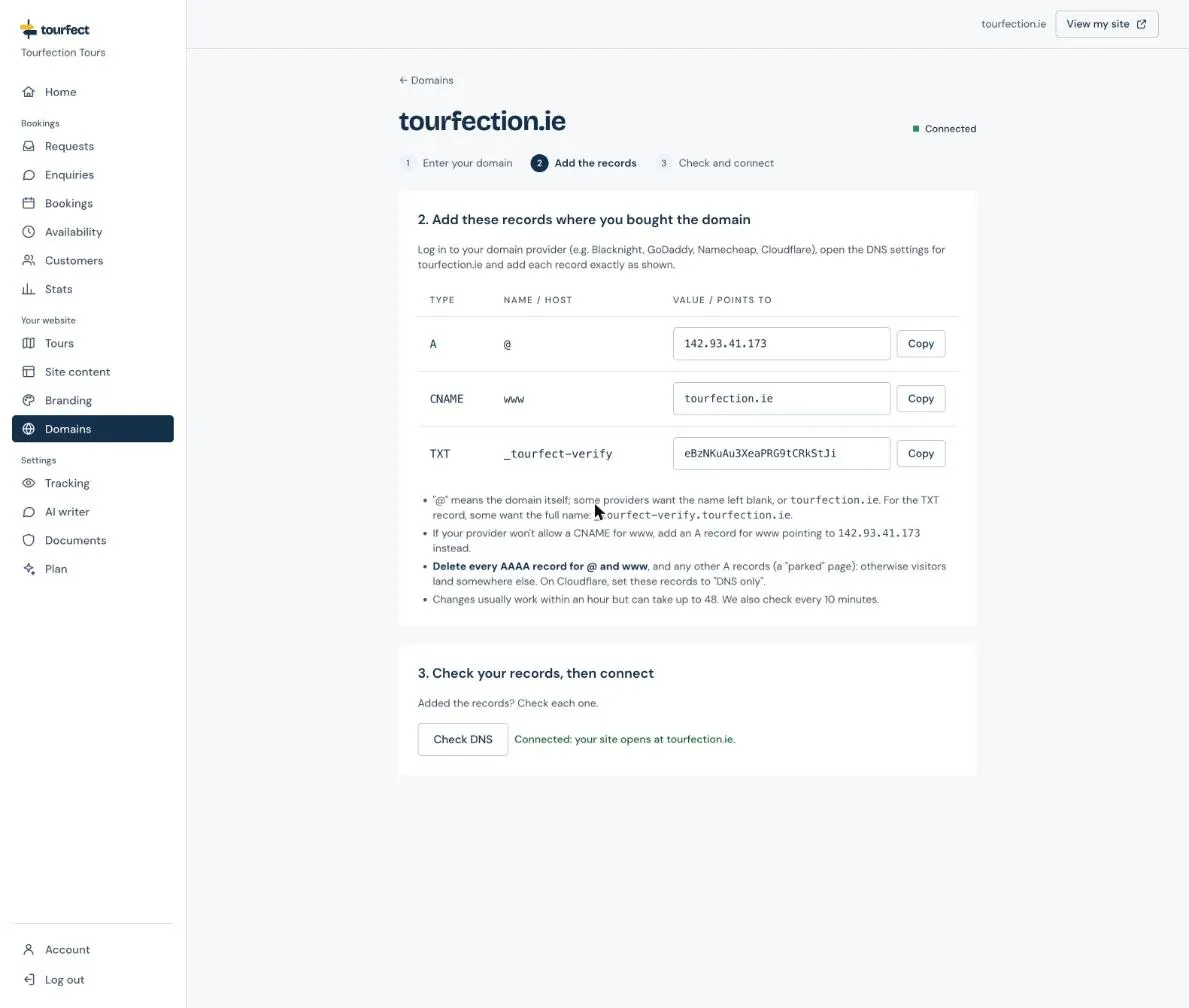
Once your site is approved, your Tourfect address sends visitors to your domain.
Your first booking request
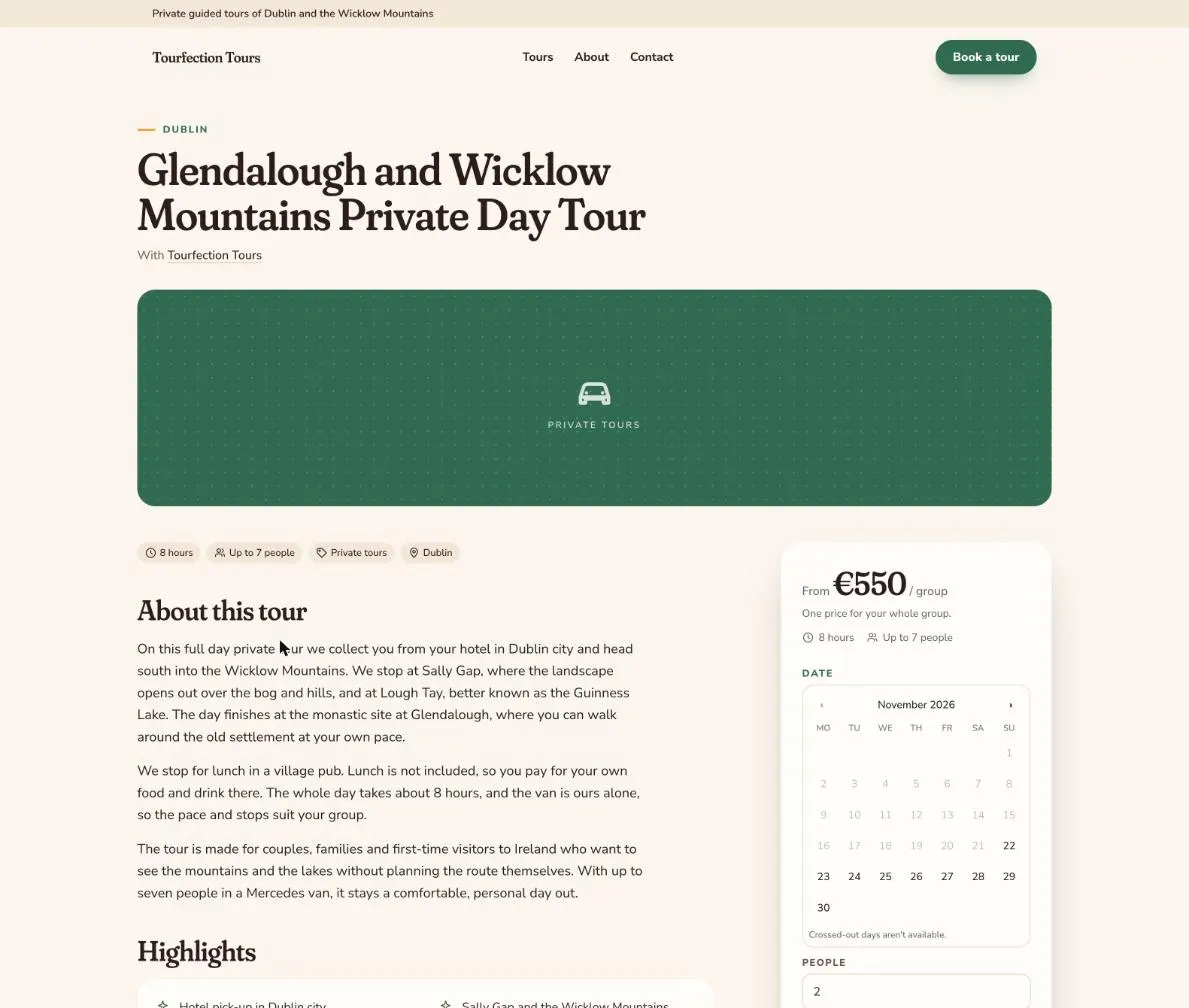
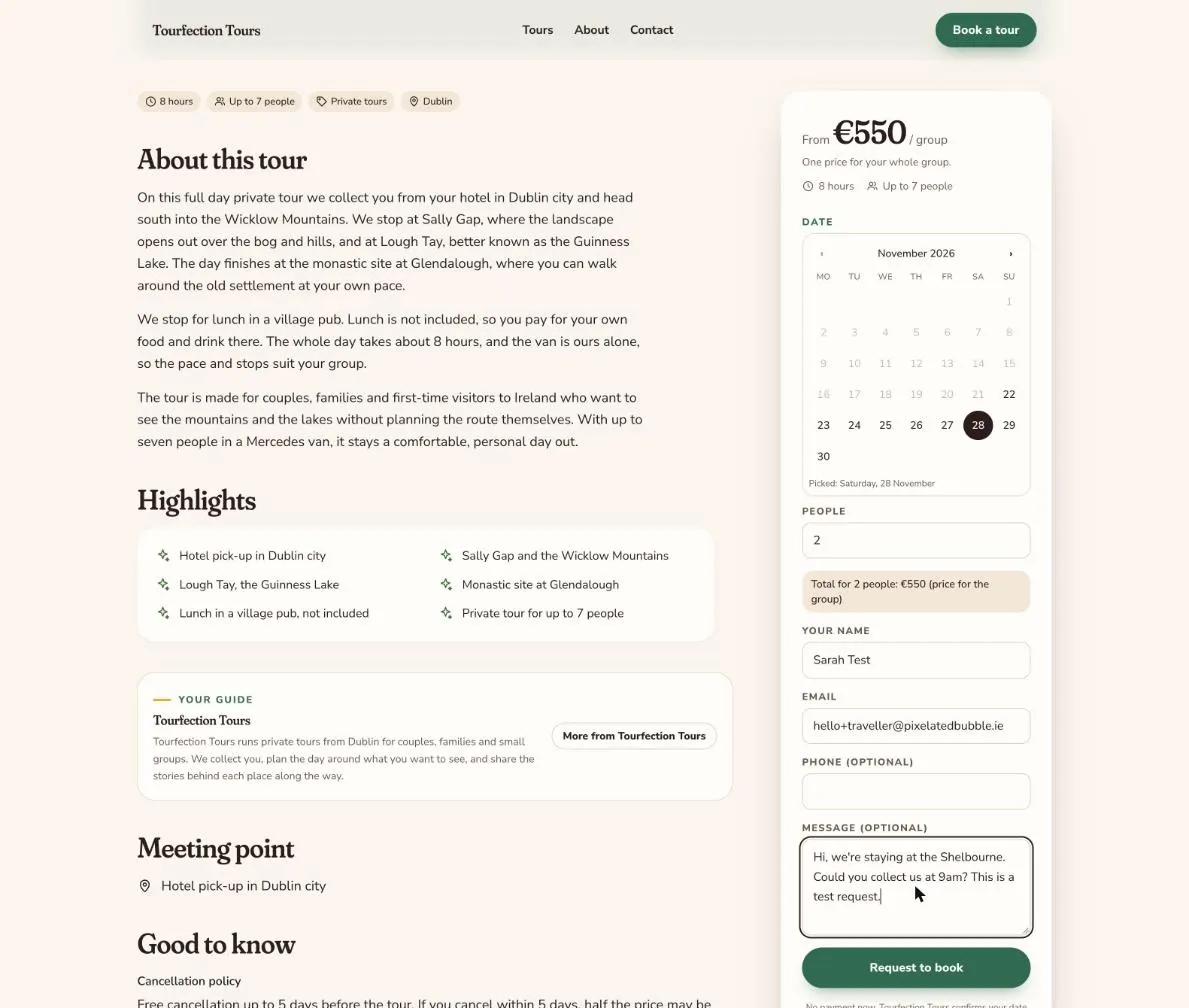
Travellers pick a date and group size on a tour page and see the price straight away. They send a request: nothing is paid or booked yet.
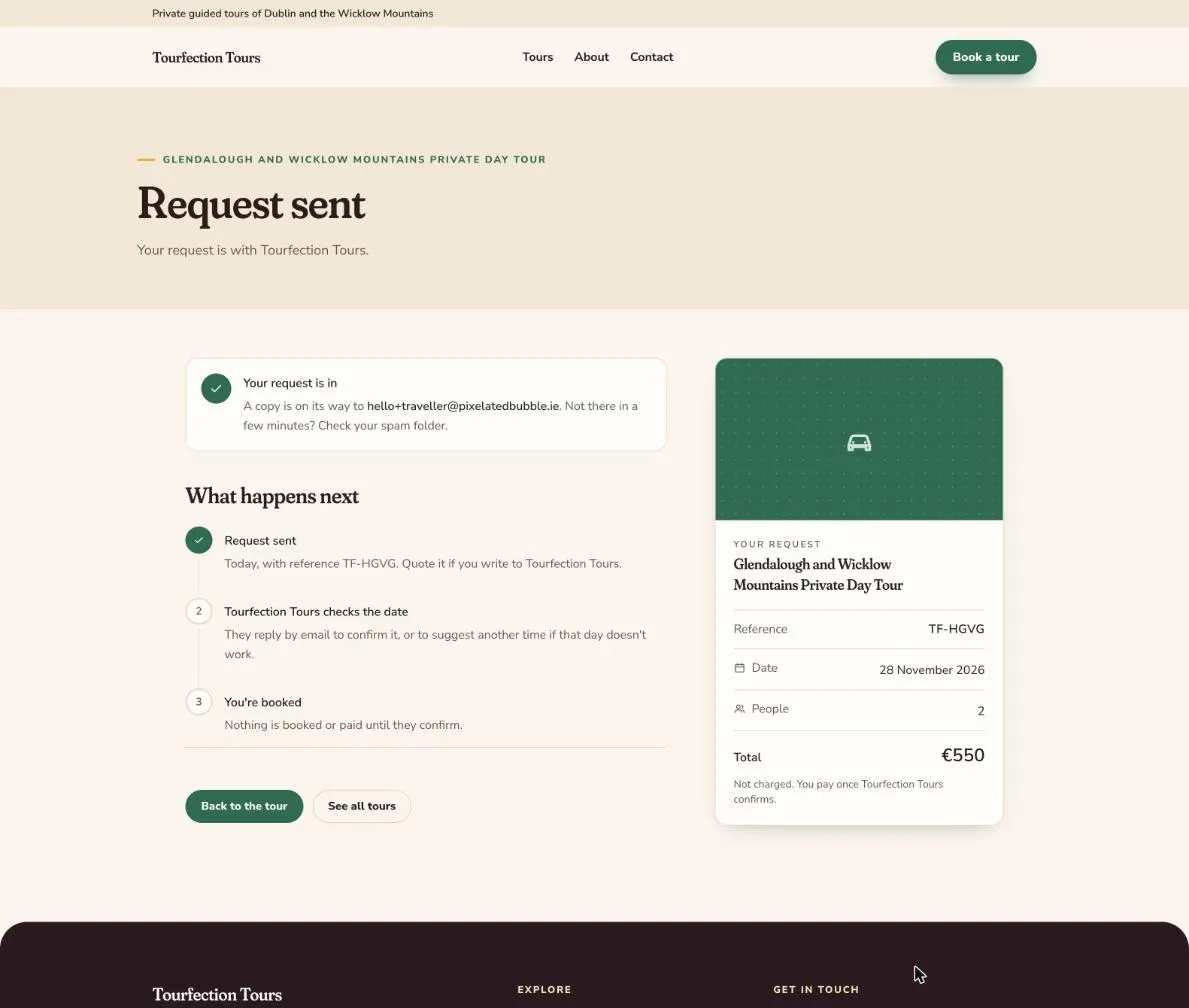
They see what happens next, with a reference like TF-HGVG, and get a copy by email.
Accept it
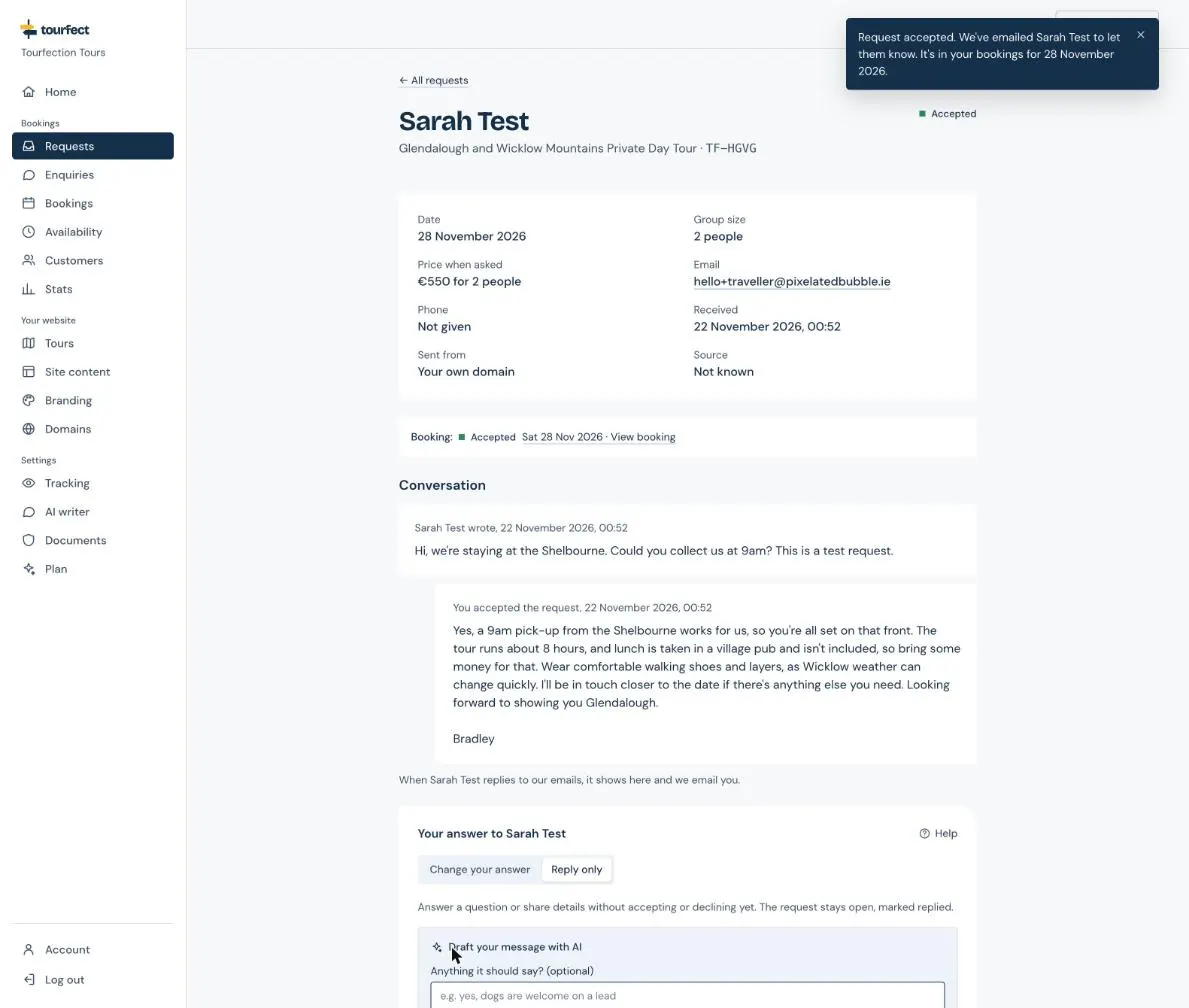
- Click Requests on your dashboard and open the request.
- Under Draft your note with AI, type anything the note should say, then click Draft an acceptance.
- Check the note and change anything you want.
- Click Accept.
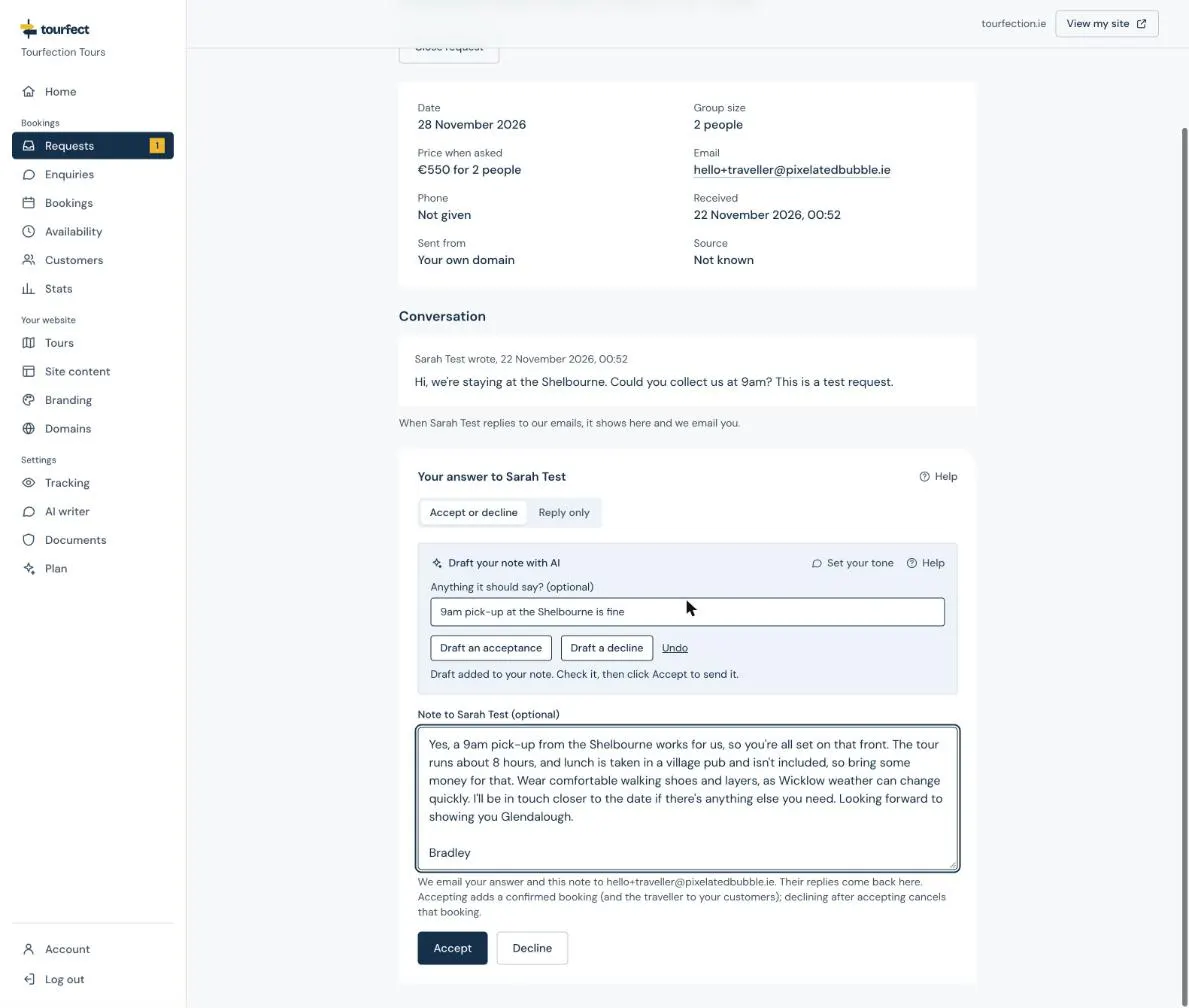
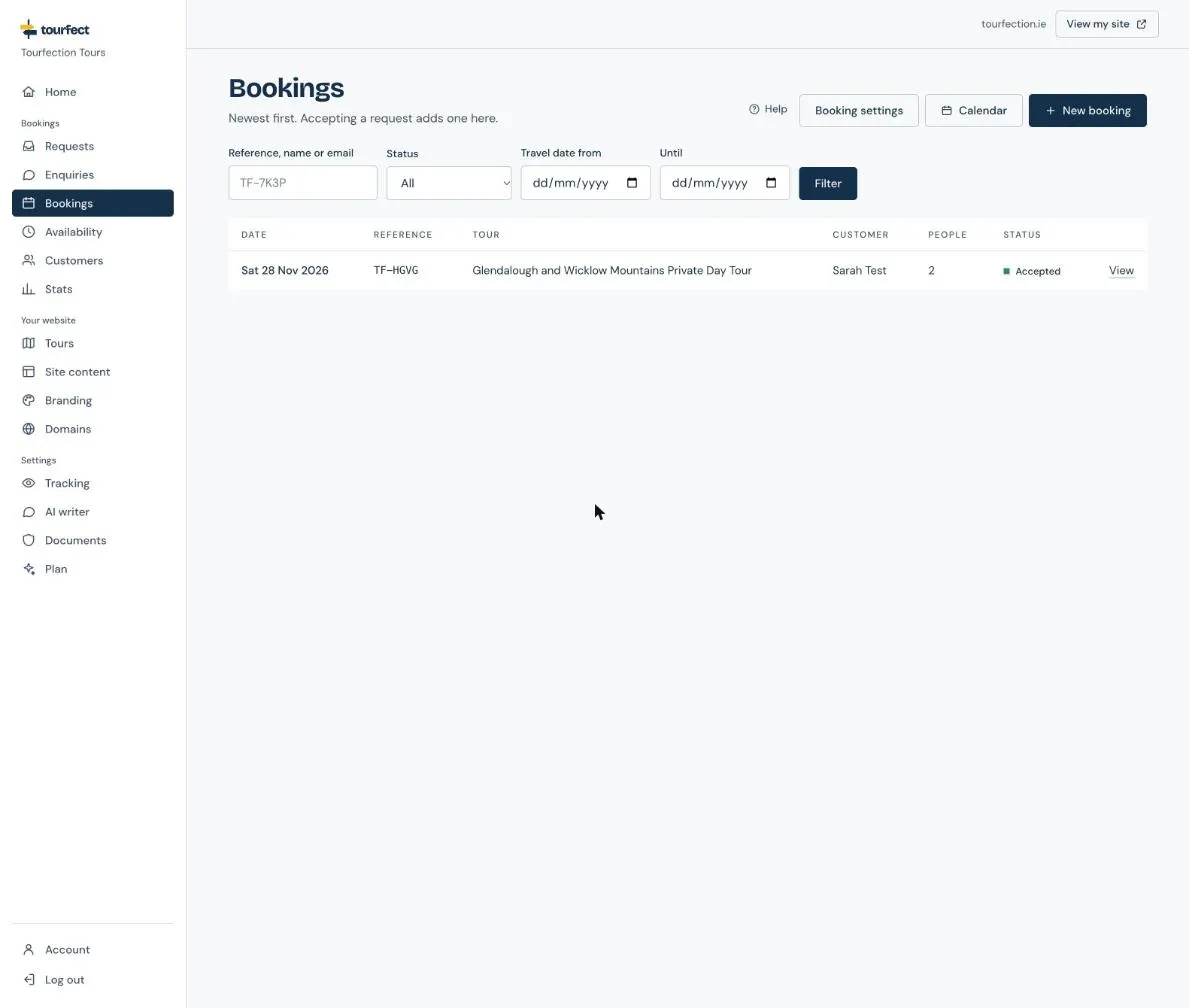
We email the traveller your note and a calendar invite. The booking appears under Bookings and the traveller under Customers.
What next
-
Click Show me around at the top of your dashboard for a quick tour of where everything is. It opens by itself the first time.
- Add 3 or more photos to each tour. Tours with photos get far more requests.
- Add reviews from past guests under Site content.
- Mark the days you’re away under Availability.
Related articles
Still stuck? Contact us
Tell us what you're trying to do and where it went wrong. We reply by email within a working day.
Contact usOr email support@tourfect.ie.